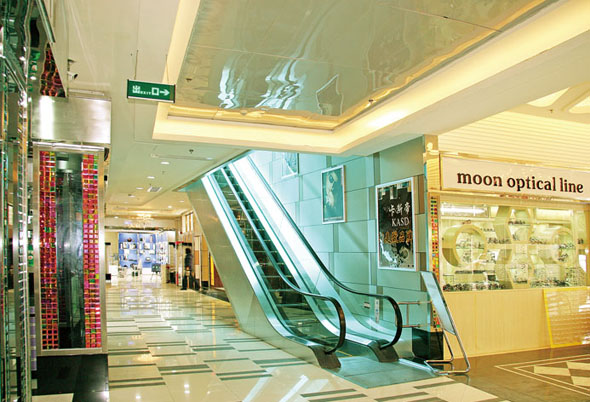
Before
After
Step 1 – Duplicate and blend
 Open up an image taken in low light, and duplicate the Background layer (Cmd/Ctrl+J). Change the blend mode of this duplicate layer to Screen. This will make the image look much brighter. If it’s too bright in parts, lower the Opacity of the layer until details are brought back in the highlights.
Step 2 – Add Levels
 Add a Levels adjustment from Layer>New Adjustment Layer. Change the blend mode of this layer to Luminosity before making any changes. This will now only affect the lighting and not warp the colours in the image.
Step 3 – Adjust lighting
 Inside the Levels adjustment, move the middle marker (midtones) to the left slightly. Assess the shadow regions in your image and try and use Levels to reveal as much detail here as possible, without fading the overall image.
Step 4 – Reduce Noise
 Press Cmd/Ctrl+Opt/Alt+Shift+E to create a merged visible layer of your image. Rename this layer ‘Reduced Noise’ and then go to the Filter menu and down to Noise>Reduce Noise.
Step 5 – Advanced Noise
 Inside the Noise menu, click on the ‘Advanced’ box and select the Per Channel tab. Because noise (digital distortion created by the lack of image information) appears more in certain parts of an image than others, we can control it selectively.
Step 6 – Clearer image
 Zoom to an area of your image where there is a shadow. Cycle through the Channels list and select one that shows the most noise – in this case its the Green and Red Channels. Increase Strength until you see an improvement, and then boost Preserve Details to bring back some definition.
Step 7 – Colour control
 To finish with, add a Color Balance adjustment. For tungsten images the Magenta/Green slider can stay at 0. Slide the Cyan/Red to the left and Yellow/Blue to the right to colour correct your image. You may not need this final step.


